Firefox is the default browser on many Linux distros, including Ubuntu and Fedora Workstation. While it already includes strong privacy protections like Enhanced Tracking Protection (ETP), several settings can be adjusted to significantly improve security and reduce tracking.
By default, however, Firefox still enables telemetry, relies on data-hungry search engines, and remains vulnerable to certain forms of browser fingerprinting.
The steps below show how to install an up-to-date build of Firefox on Linux and apply several security configurations that reduce tracking and narrow your browser’s attack surface.
Security Changes You’ll Make
- Disable Firefox telemetry
- Disable Firefox AI features
- Change the default search engine
- Strengthen Enhanced Tracking Protection
- Enable fingerprinting protection
- Enable DNS over HTTPS
- Turn on HTTPS-Only Mode
- Install the NoScript extension
Why Harden Firefox?
Projects like arkenfox provide a drop-in configuration file that applies extensive privacy-related changes.
There are also privacy-focused forks of Firefox, like LibreWolf, that ship with stricter defaults out of the box, including disabled telemetry.
Still, the trade-off is control. Choosing the options above means letting someone else decide which Firefox features to disable.
By hardening mainstream Firefox yourself, you’ll stay on the fastest security-update track and can reverse individual changes if a site stops loading properly.
How It Works
Mozilla offers granular security and privacy options in Firefox. You can access advanced settings by typing about:config into the address bar and toggling individual preferences.
You can also use the regular Firefox settings page to disable unnecessary features like AI integrations, switch to a more privacy-friendly search engine, and fine-tune your tracking protection.
Mozilla’s add-ons page lets you enhance Firefox functionality with trusted extensions. You can use this to prevent most potentially malicious scripts from loading.
Before you begin, double-check that you’re running the most recent version of Firefox. If it’s already installed, update it via the Linux command line:
sudo apt update && sudo apt upgrade
If you don’t already have Firefox, Mozilla provides an official APT repository for Debian and its derivatives, like Ubuntu. There are also Snap and Flatpak builds for other distros.
Visit Mozilla’s Linux install guide for distro-specific steps and up-to-date commands.
Step 1. Disable Firefox Telemetry
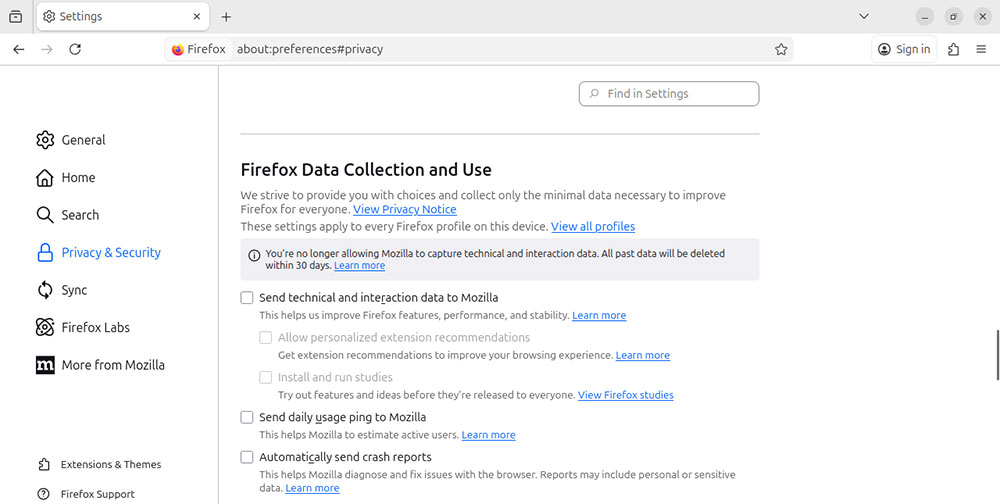
Click the three lines at the top right of the Firefox browser window and open Settings > Privacy & Security.
Scroll down to the section marked Firefox Data Collection and Use. Untick all the checkboxes.
Next, type about:config into the address bar. Read the warning, then choose Accept the Risk and Continue.
Use the search bar marked Search preference name to look for these preferences and change their values:
| Preference | Value |
|---|---|
| toolkit.telemetry.enabled | false |
| toolkit.telemetry.unified | false |
| datareporting.policy.dataSubmissionEnabled | false |
| browser.newtabpage.activity-stream.telemetry | false |
| browser.newtabpage.activity-stream.feeds.telemetry | false |
Step 2. Disable Firefox AI Features
Open Firefox Settings and choose AI Controls.
Under Block AI enhancements, enable the toggle.
Read the notification carefully about what content will be unavailable after you do this, then choose Block.

Step 3. Change the Default Search Engine
In Firefox Settings, choose Search.
Open the Default search engine dropdown and select DuckDuckGo.
If you prefer to use a different privacy-focused engine, go to the provider’s page and follow the instructions there.
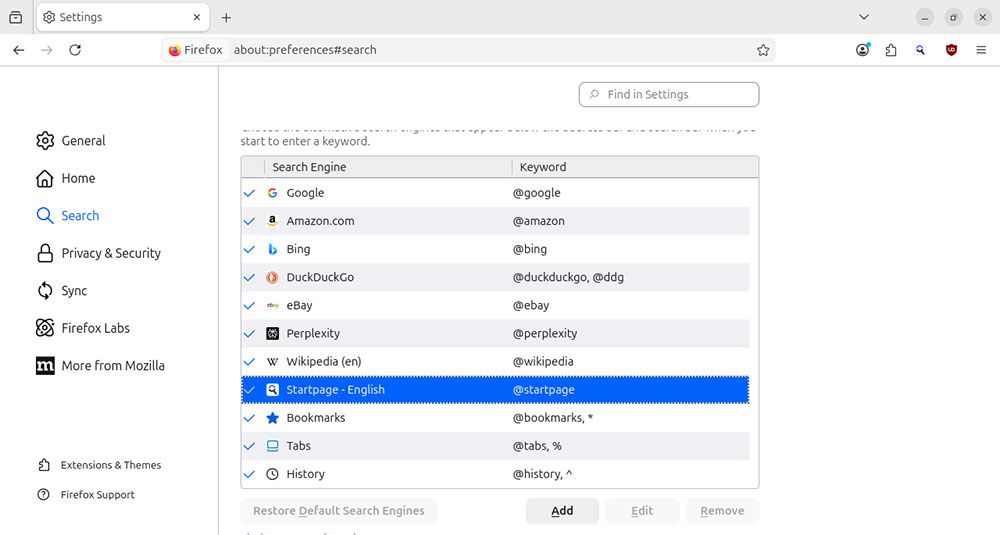
For example, visit Startpage and choose Add to Firefox > Continue to Installation > Yes to make it your default search engine.
Step 4. Strengthen Tracking Protection
In Firefox Settings, choose Privacy & Security.
Change Enhanced Tracking Protection from Standard to Custom.
Open the dropdown menu in the Cookies section and choose All cross-site cookies.
Read the warning carefully about possible site breakage located at the bottom of the screen.
![]()
If some pages have trouble loading, return to this section and choose Manage Exceptions. From here, you can disable ETP for specific domains. Enter the domain, then select Add Exception > Save Changes.
Step 5. Enable Fingerprinting Protection
If you selected Custom Enhanced Tracking Protection, confirm Suspected fingerprinters is set to All Windows, not just private windows.
Next, type about:config in the address bar. Find privacy.resistFingerprinting and set it to true.
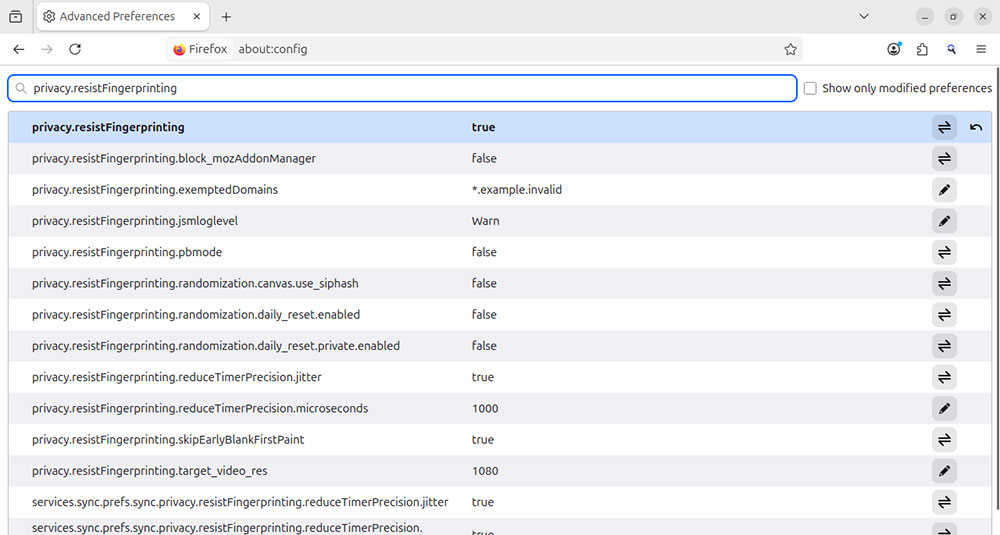
This setting adds stronger protection against browser fingerprinting but can break some website features or change their behavior.
Step 6. Enable DNS over HTTPS
Open Firefox Settings > Privacy & Security. Scroll down to the DNS over HTTPS section and select Max Protection.
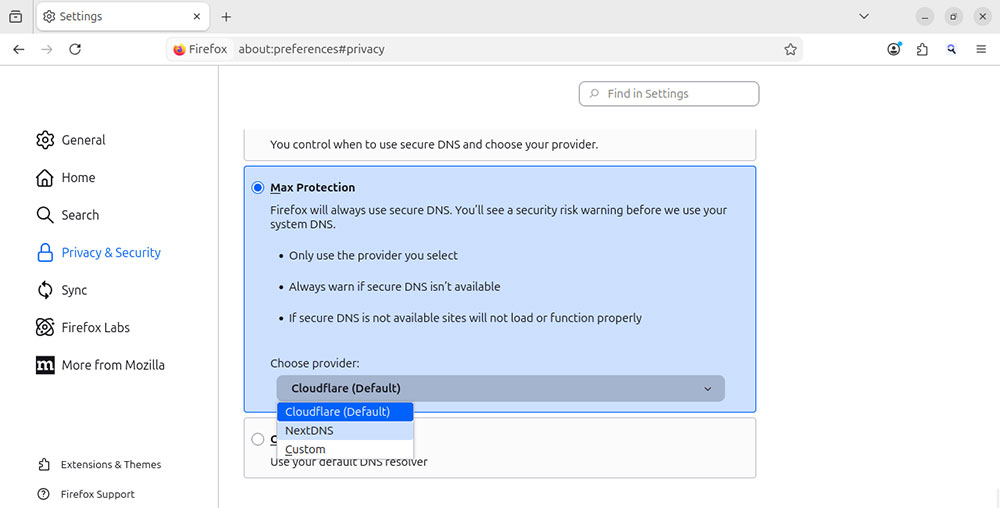
Firefox supports DoH with Cloudflare to encrypt DNS queries in many regions, but it can fall back to your system DNS resolver depending on network policies or availability. Enabling Max Protection prevents that fallback.
You can change the default provider to NextDNS or a custom server via the dropdown menu.
Step 7. Enable HTTPS-Only Mode
Open Firefox Settings > Privacy & Security. Scroll down to the section marked HTTPS-Only mode and choose Enable HTTPS-Only mode in all windows.
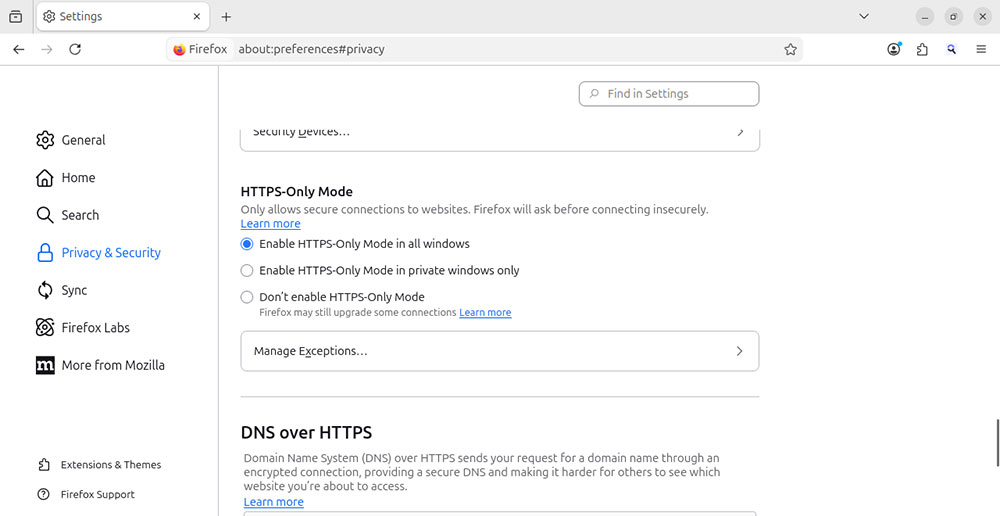
Although most modern sites use HTTPS, some still allow unencrypted HTTP connections. HTTPS-Only Mode prevents Firefox from loading those insecure pages unless you explicitly allow it.
If you try to visit an HTTP site in the future, Firefox will display a “Secure Site Not Available” page.
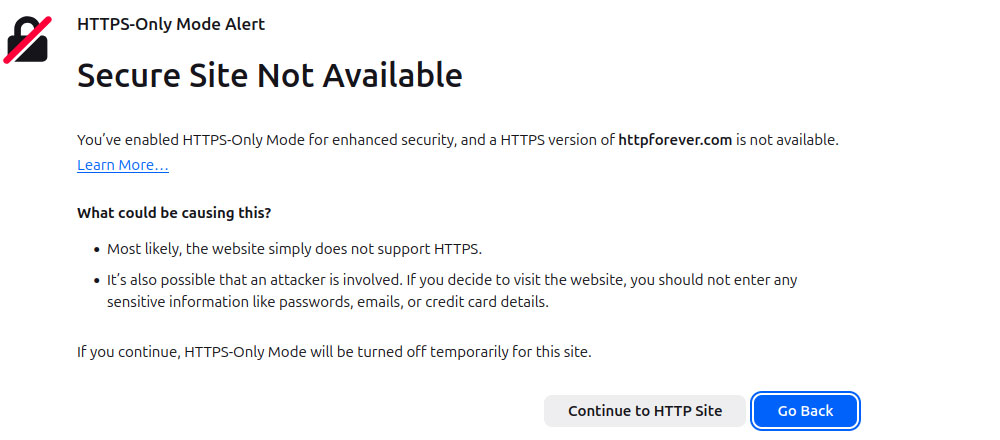
You can choose Continue to HTTP Site to proceed or Go Back to leave.
Step 8. Install a Script-Blocking Extension (NoScript)
NoScript is an open-source extension that blocks JavaScript and other active web content by default and lets you choose which sites are allowed to run scripts.
When used properly, it can significantly reduce the effectiveness of fingerprinting techniques and malicious code hidden in web pages.
To get started, visit Mozilla Add-ons and install NoScript Security Suite.
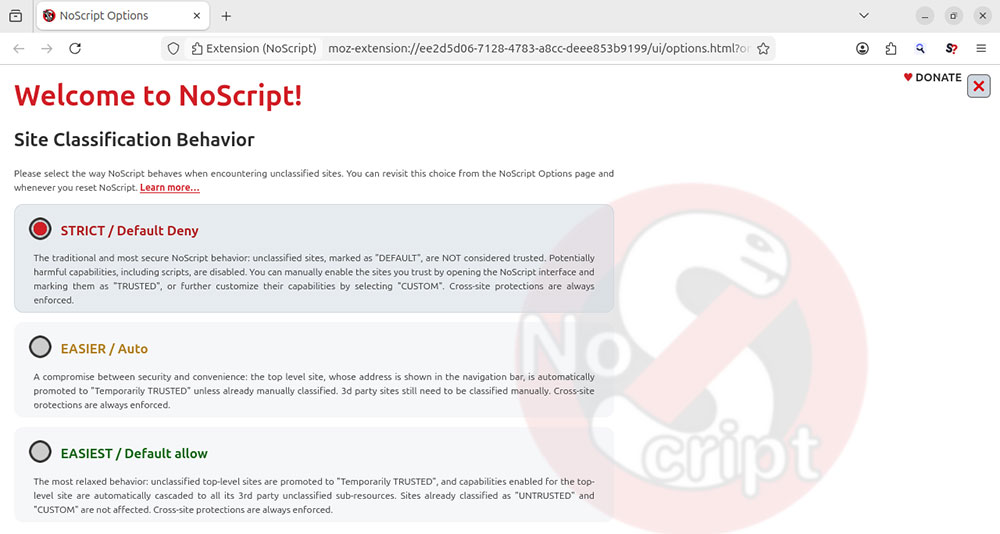
Review the options in the main window to decide how NoScript should handle unclassified sites. Consider leaving the default option (Strict) so that all potentially harmful scripts are disabled.
If this stops a site from working correctly, click the extension icon in the Firefox toolbar, then the clock symbol to temporarily or permanently trust that domain.
Browse Safely With Your Hardened Firefox Browser
After completing these steps, Firefox will run with significantly stronger security and privacy protections.
It will send less data to Mozilla, resist more tracking techniques, and rely on encrypted DNS and HTTPS connections wherever possible.
You retain upstream Firefox security updates and new features while running settings better aligned with Linux-focused privacy expectations.
If any changes break site compatibility, you can revisit these settings and reverse them individually without undoing your entire configuration.